- Lab
- A Cloud Guru
Enable Archiving with Azure Blob Storage
Azure storage offers different access tiers, which allow you to store blob object data in the most cost-effective manner. The available access tiers include hot, which is optimized for storing data that is accessed frequently; cool, which is optimized for storing data that is infrequently accessed and stored for at least 30 days; and archive, which is optimized for storing data that is rarely accessed and stored for at least 180 days with flexible latency requirements (on the order of hours). In this hands-on lab, we will be creating a blob storage container in a pre-provisioned Azure storage account. We will upload a few sample files to the container and then attempt to download them, showing that we can do so in either a hot or cool tier. We will then change the access tier of the blobs to archive and test to see whether or not we are able to download the blobs.
Path Info
Table of Contents
-
Challenge
Create a Blob Container in the Azure Storage Account
- In the Azure portal, click Storage accounts in the left-hand navigation menu.
- Click on the storage account provided, named saXXXXX, where XXXXX is a unique five-character lab identifier.
- In the storage account blade, click on Blobs.
- Click + Container to create a new blob container.
- Name the blob container anything you wish.
- Leave the access level as Private, and click OK to create the container.
-
Challenge
Upload Sample Files to the Blob Container
- Click on the newly created blob container.
- Click the Upload button.
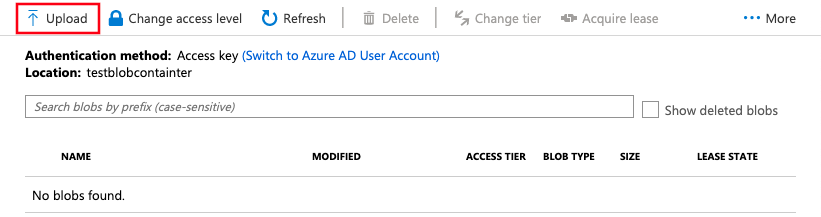
- In the Upload blob dialog, click the folder icon.
- Select three files of your choosing from your local workstation to upload to the blob. (Use Ctrl + click (Command + click for Mac) to select multiple files.)
- Click Open.
- Click Upload to upload the files to the blob container.
- Click the red X to exit the Upload blob dialog.
-
Challenge
Change the Access Tier of the Uploaded Blobs
- Leave the first blob alone. It will remain in the Hot access tier.
- Click the checkbox to the left of the second blob, and then click the Change tier button.
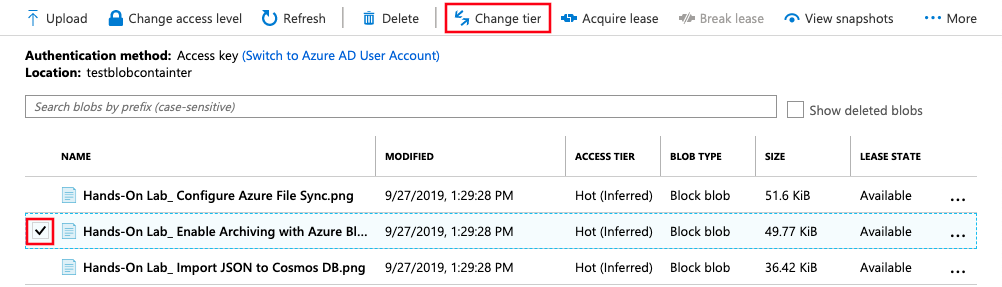
- In the Change tier dialog, change the access tier to Cool. Click Save.
- Repeat steps 2 and 3 for the third blob, changing the tier to Archive instead of Cool.
-
Challenge
Test Downloading the Blobs
Test downloading each blob by clicking the ellipsis to the right of the blob and clicking Download. You should be able to download the first two blobs but not the third, which is currently in the archive tier.

What's a lab?
Hands-on Labs are real environments created by industry experts to help you learn. These environments help you gain knowledge and experience, practice without compromising your system, test without risk, destroy without fear, and let you learn from your mistakes. Hands-on Labs: practice your skills before delivering in the real world.
Provided environment for hands-on practice
We will provide the credentials and environment necessary for you to practice right within your browser.
Guided walkthrough
Follow along with the author’s guided walkthrough and build something new in your provided environment!
Did you know?
On average, you retain 75% more of your learning if you get time for practice.

